
Some of the best play in our house has never come from a toy shop. It has come from the kitchen drawer while I was making lunch. A big lid, a pair of tongs, a clean sponge — these simple things kept little hands busy and gave small fingers gentle practice at gripping, squeezing, turning and letting go.
Fine motor skills are the small hand and finger movements children use for holding a spoon, turning pages, doing up buttons and, later, holding a pencil. You do not need special equipment to give them practice. Everyday kitchen items can support it through play, as long as we choose carefully and stay close.
What worked for us was keeping it short and pressure-free. I set out one activity at a time and let my child explore. Some days it lasted two minutes, other days much longer. Both were fine. The point was to play, try, drop things and try again.
Quick Answer
You can support fine motor practice at home with safe kitchen items such as big lids posted into a box slot, tongs picking up big soft pom-poms, large pasta threaded onto a thick cord, homemade playdough for squeezing and rolling, and toddler safety scissors with close supervision. Choose items too big to fit through a toilet-roll tube, keep play short, and always supervise. These activities give practice — they do not guarantee any outcome, and every child learns in their own time.
Safety First, Always
Before any activity, use the toilet-roll tube test for every item. If an item fits through a toilet-roll tube, it is a choking hazard — it is too small. Put it away for another year. Only use items clearly too big to fit through.
We also follow firm rules in our house. Never give loose dried beans or lentils to children who still mouth things — if you use them at all, they stay in a sealed container a child cannot open. Never use button batteries or small magnets in play, ever. Do not use whole nuts or small hard items. For under-threes, prefer big, soft items. Stay within arm’s reach and put everything away when play finishes.
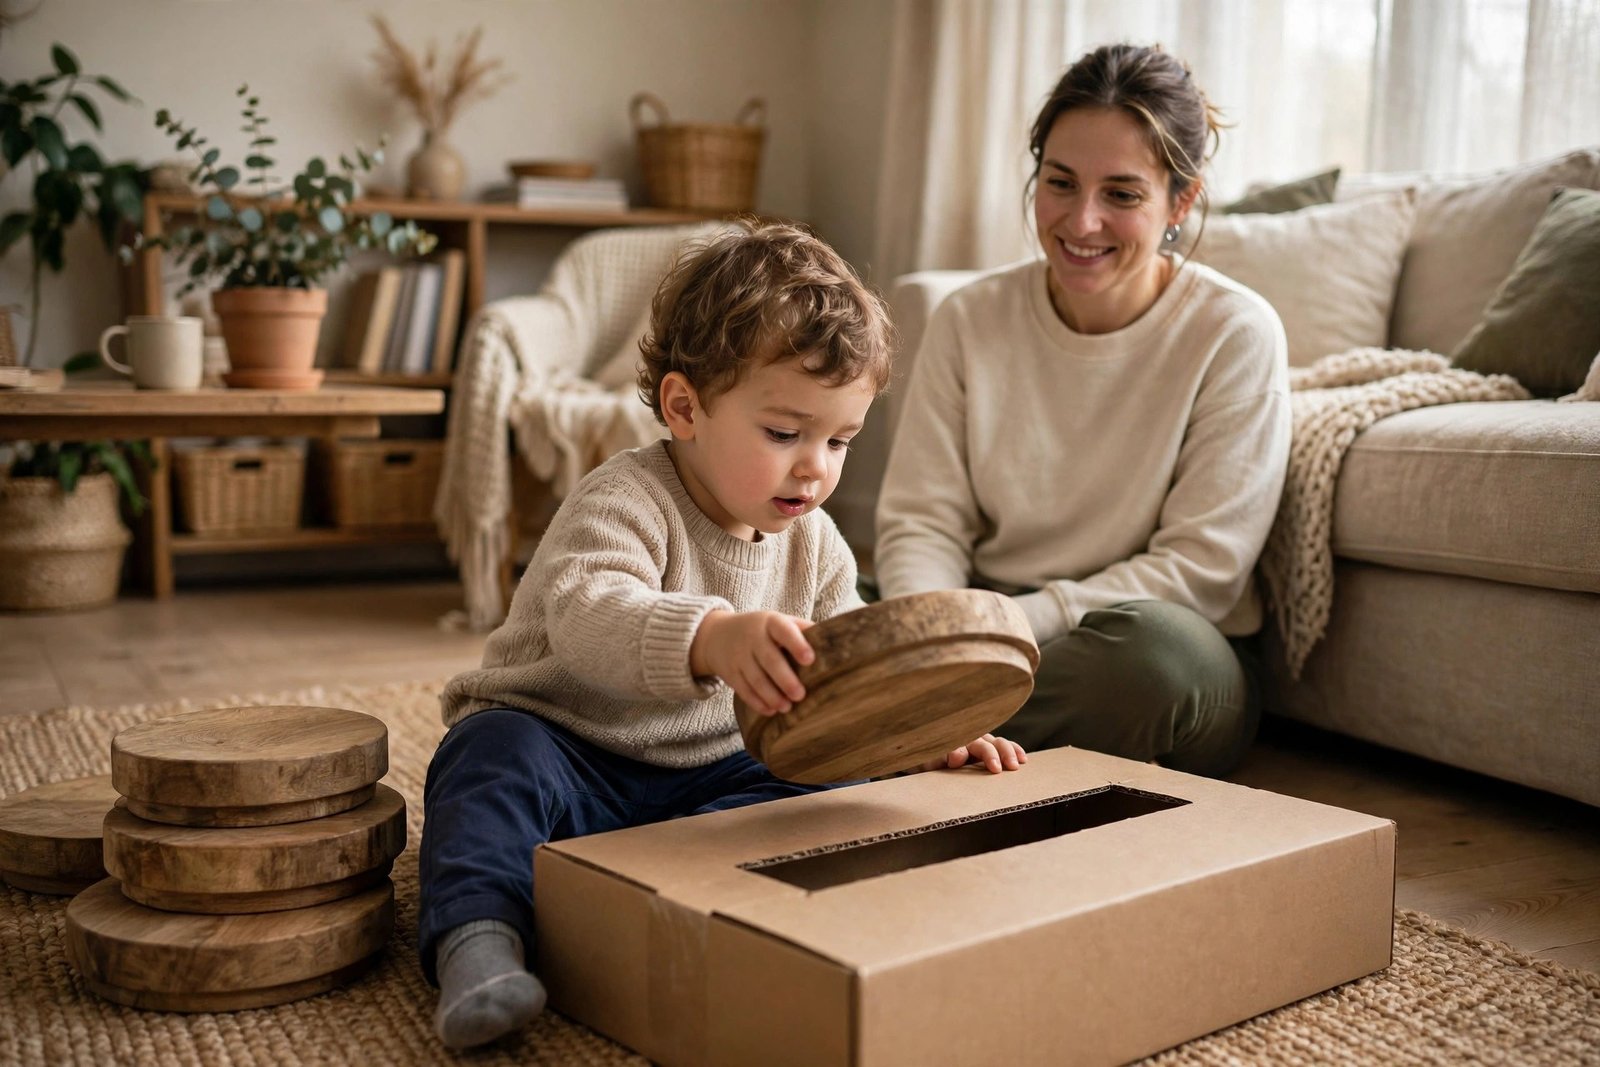
Posting Big Lids Into a Box Slot
Take a clean cardboard box and cut a wide slot in the top — an adult should do the cutting, away from your child. Gather big, clean lids, such as large jar or tub lids, and check every one with the tube test first.
Your child holds a lid, turns it to line up with the slot, and posts it in. That turning gives lovely practice for hands and fingers, and the clatter inside the box is a reward in itself. When the box is full, tip the lids out and start again.
Age fit: this suited us from around 12 to 18 months onwards, with a very wide slot and the biggest lids first. Later, try a narrower slot or ask for one colour at a time.
Tongs and Tweezers With Big Soft Pom-Poms
Kitchen tongs are brilliant because squeezing them open and closed uses the whole hand. Start with easy, springy tongs, paired only with big soft pom-poms — the large kind far too big to fit through a toilet-roll tube. Especially for under-threes, prefer big soft items like these. Never swap in small balls or beads that could be a choking risk.
Put pom-poms in one bowl, with an empty bowl beside it. Show your child how to squeeze, pick one up, move it across and let go. In our house this became a game of filling a muffin tin, one pom-pom in each hole.
Age fit: short tongs usually worked from around age two. Larger tweezers suited my child later, from around age three, because they need a more precise pinch. If tongs frustrate your child, go back to fingers or a big spoon. This sits happily alongside our other simple sensory play ideas at home, as long as every item passes the tube test.
Threading Large Pasta Onto a Thick Cord
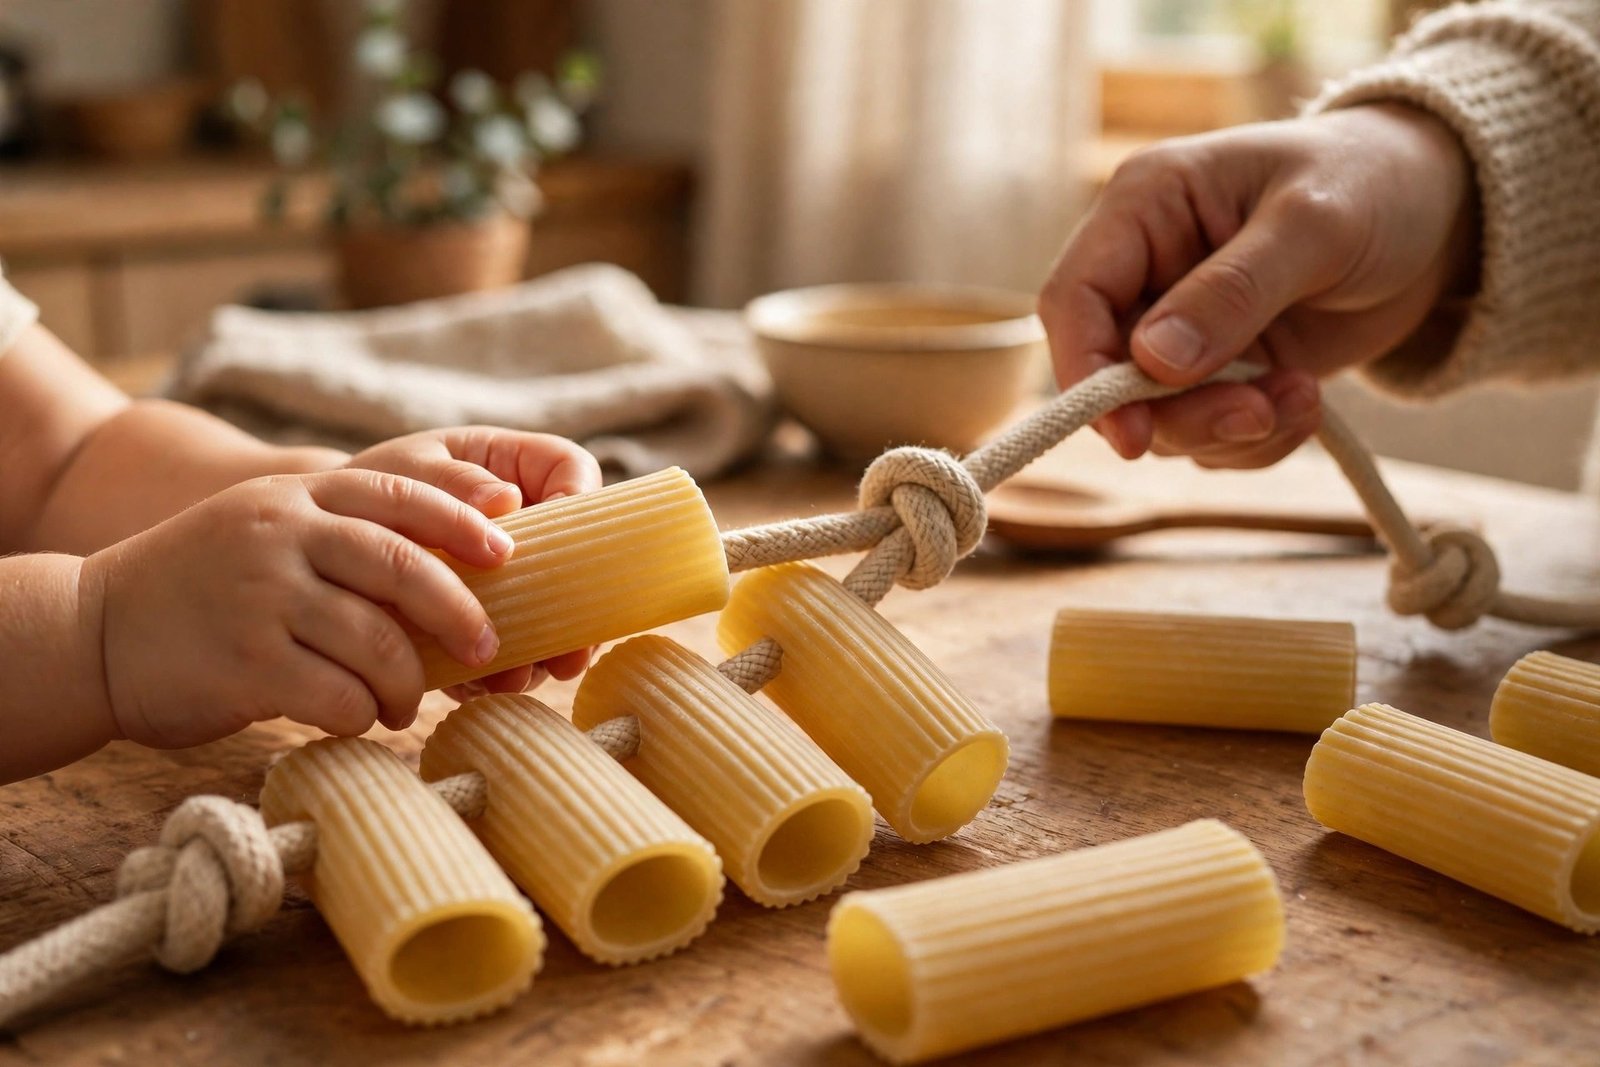
Threading can support hand-eye coordination and gives both hands a job — one holds, one pushes. Use only large pasta, such as rigatoni, which has a wide hole and is easier for small hands. Thread it onto a thick cord, not thin string, with a big knot at one end so pieces cannot slide straight off.
Supervise this closely from start to finish. Pasta is hard and can break into smaller pieces, so remove any piece that cracks, count pieces out and back in, and put the cord away straight afterwards. Cords should never be left with a child alone or put around the neck.
Age fit: this worked for us from around age three, when my child was past mouthing everything and could focus for a few minutes. Younger toddlers are usually better with posting and dough.
Opening, Closing and Matching Lids
Save a small collection of clean containers with screw, flip and push-on lids — empty tubs, wide-topped bottles and jars with big lids all work well. Check every lid is too big for the tube test, wash and dry everything, and remove any small seals or parts that could come loose.
Children love the real work of twisting, pushing and pulling, and matching each lid to its container adds problem-solving too. Start with just two or three containers. Show your child how to hold the base with one hand and turn with the other — that two-handed teamwork is exactly the practice we hope for.
Age fit: push-on lids suited us from around 18 months, and screw lids came later, from around two to three, depending on stiffness. We chatted about open, shut and twist as we played, much like the talking we build into our favourite activities to help toddler speech during everyday routines.
Homemade Playdough for Squeezing and Rolling
Homemade playdough is one of the kindest tools for busy hands. A simple flour-based dough can be squeezed, squashed, rolled into sausages, pressed flat and poked with fingers, and all of that gives hands a good workout through play. Add cutters or a small rolling pin, checking first that any tool is sturdy with no small loose parts.
One safety note: homemade dough is often salty, so keep it for hands, not mouths. Supervise mouthing babies and young toddlers very closely, and put the dough away if your little one keeps trying to eat it. Wash hands before and after, and throw dough away if it gets dirty.
Age fit: supervised squashing and poking worked from around 18 months in our house. Rolling sausages and using cutters suited ages two and three more. Sit at a table or on a mat, and join in. We often use dough as one of our screen-free quiet time activities when the day needs slowing down.
Cutting Practice With Toddler Safety Scissors
When your child shows interest in scissors, start only with toddler safety scissors, made for little hands. This is always a supervised activity. Sit together at a table, every time, and put the scissors away out of reach the moment you finish.
Playdough sausages are a perfect first thing to snip, because they are soft and stay still. Later, your child can snip wide strips of paper. Show them how to hold the scissors thumb up and open and close slowly. Keep sessions short.
Age fit: this suited us from around age three, and only when my child could follow simple reminders like sitting down while holding scissors and never walking around with them. If your child is not ready, there is no hurry. Tearing paper by hand gives good practice too.
Mistakes to Avoid
- Using items that are too small. Always do the toilet-roll tube test first, and if in doubt, do not use the item.
- Giving loose dried beans, lentils, whole nuts or small hard items to a child who mouths things. Sealed containers only, and never button batteries or small magnets.
- Leaving a child alone with tongs, cords, scissors, dough or water, even for a moment. Supervise everything, always.
- Making it feel like a test. Correcting every grip or pushing a child to finish takes the joy out of play.
- Setting out too much at once. One activity and a few items work far better than a whole drawer on the floor.
- Keeping sessions too long. Little hands tire quickly, so stop while your child is still enjoying it.
When to Ask for Help
Children develop at very different speeds, and a wide range of timing is normal. This article cannot tell you whether your child needs support. But if your child consistently struggles far behind peers with everyday hand skills, seems to lose skills they once had, or you simply feel worried, please trust that feeling and have a gentle chat with your health visitor or GP. Asking early is never a mistake, and a professional who knows your child can give advice that fits them.
Frequently Asked Questions
What age can my child start fine motor kitchen activities?
Many children can enjoy simple, supervised activities from around 12 to 18 months, such as posting very big lids or squashing soft dough, as long as every item passes the toilet-roll tube test. Threading and scissors usually suit children from around age three. Follow your child’s readiness, not just their birthday.
How long should we do these activities for?
Little and often works best in our experience. Five to fifteen happy minutes is plenty for toddlers and young preschoolers. Stop when your child loses interest or gets tired, and try again another day.
What if my child just throws everything on the floor?
That is very normal, especially for younger toddlers — throwing and dropping are part of learning too. Keep the number of items small, sit together, and calmly show posting again. If everything keeps being thrown, your child may be tired. Pack away kindly and try tomorrow.
Do I need to buy anything special for these activities?
No, and that is the point of using kitchen items. Big lids, a box, tongs and homemade flour-based dough cover most of these ideas. The only things worth buying, if you do not have them, are toddler safety scissors and big soft pom-poms.
Please note: I am a mum sharing what has worked in our home, not a medical or child development professional. This article is for general information and play ideas only and is not medical advice. For full details, please read our disclaimer, and always supervise your child during play.
1 thought on “Fine Motor Activities With Everyday Kitchen Items”